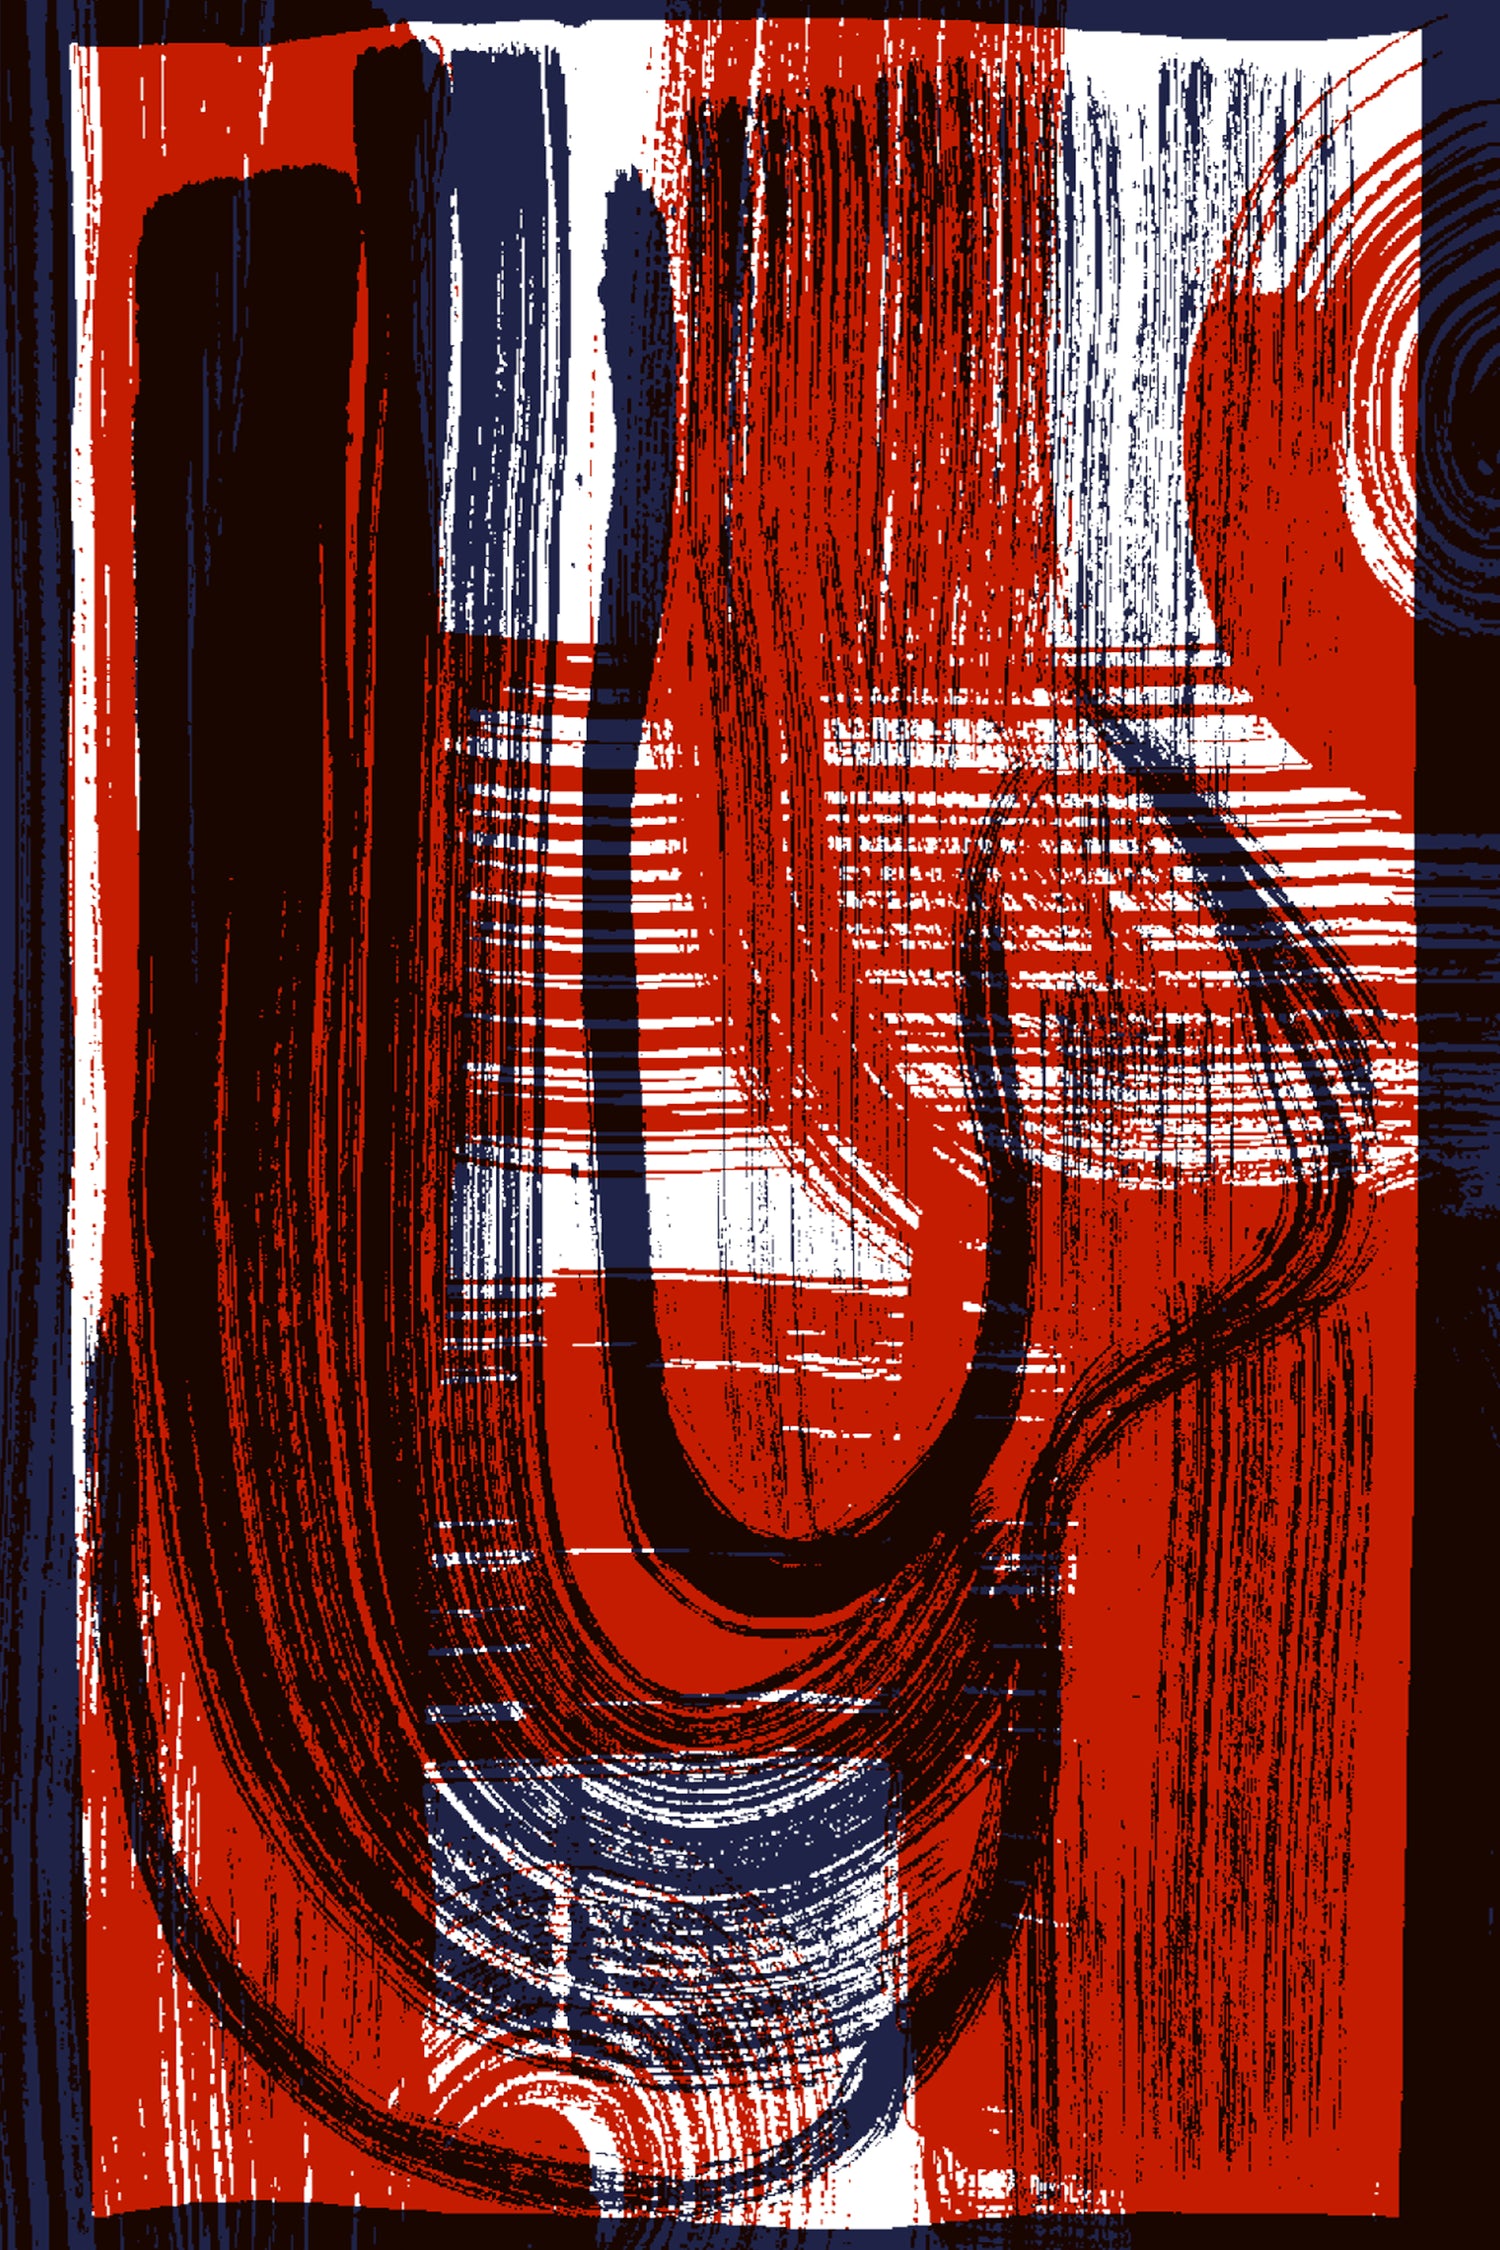
My first ever silkscreen print. This was a four color, hand painted reduction print with the last color hand drawn on using drawing fluid.
Let me explain the process. Reduction prints are multi-colored, layered prints that are made using a single substrate. So I started by making 2 6”x6” open windows on my silkscreen using screen filler (not fun to clean out, I would def use photo emulsion next time). With the first open window, I started making the abstract blobs. All the shapes in this print have the lightest peach color underneath them. After I printed the peach layer, I covered all the areas that I wanted to stay peach. Then, I printed the brown blobs. Repeating the process, I blocked out all the spots that I wanted to stay brown. Lastly, I printed the plum shapes. This is all that I did with the first window on my screen.
Moving on to the next open window, I used drawing fluid to hand paint the “Ouch” text on top of all the layers. Once I finished painting, I covered the rest of the window with screen filler. Then, I sponged away the drawing fluid with water. Lastly, I printed the “Ouch” layer with a beautiful hand mixed pink ink.
This project helped me to better understand how printmakers think - you really have to think backwards. Which order do I print my colors? What colors can go under others? Which layer should I print first? Last? I learned that lightest colors go first, so they can easily go under darker colors. I really just had start this project to learn & I learned A LOT.
Fun Fact: This print is titled Ouch! because my professor yelled at me for being late to class & hurt my feelings. I was def in the wrong & I got over it. We are actually buddies now! Just a fun tidbit to this print. ᵕ̈

